


Description
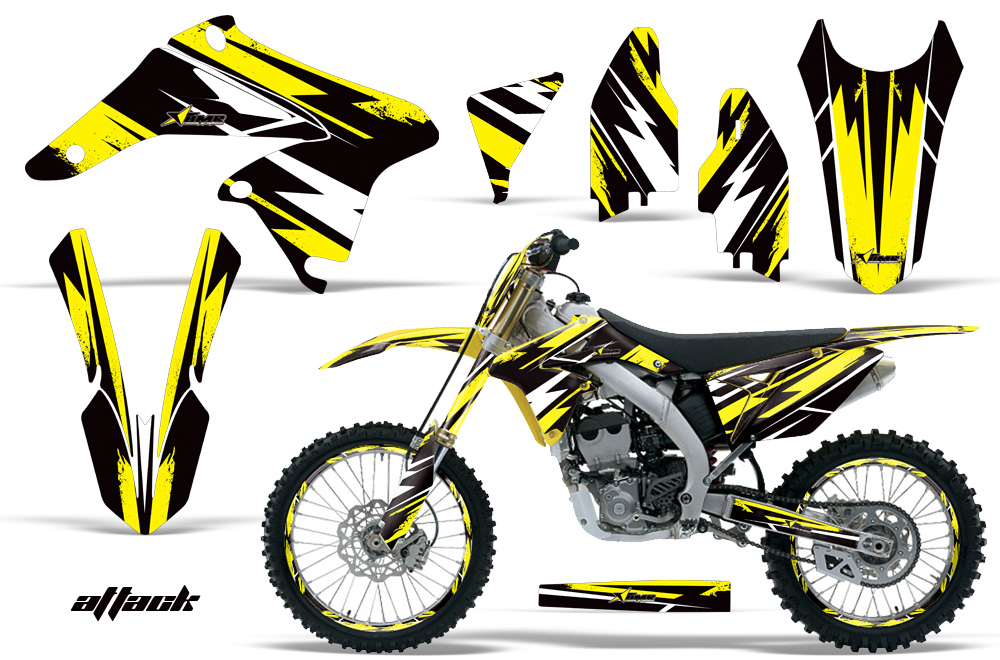
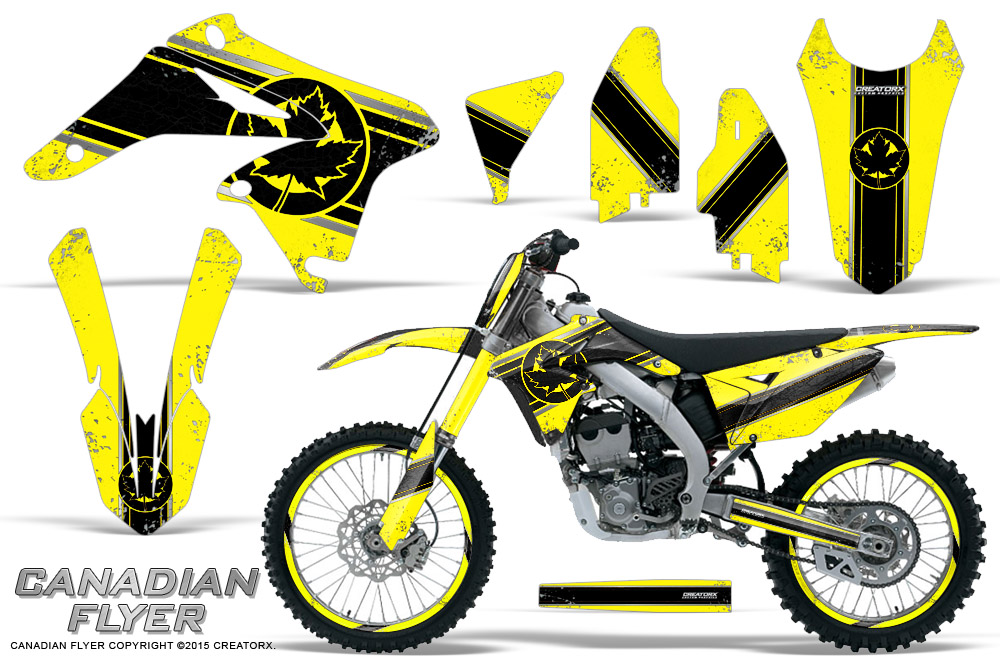
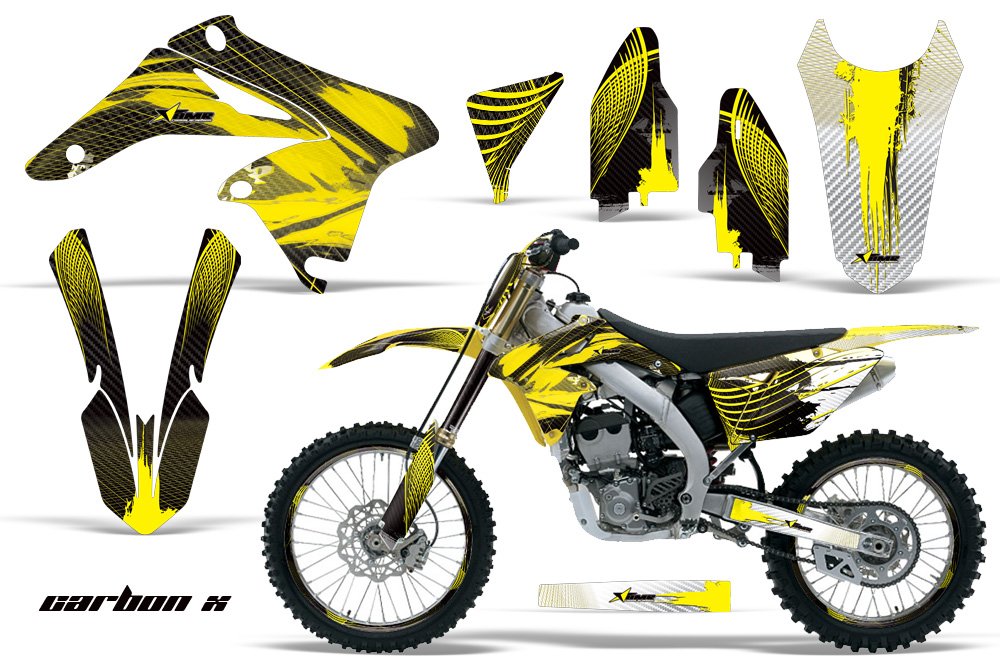
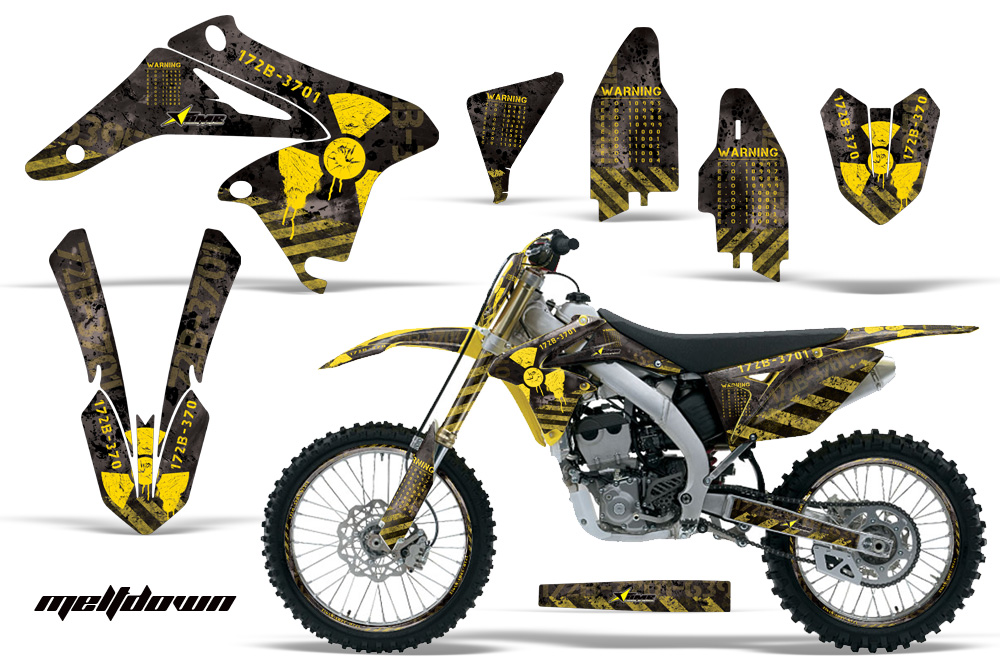
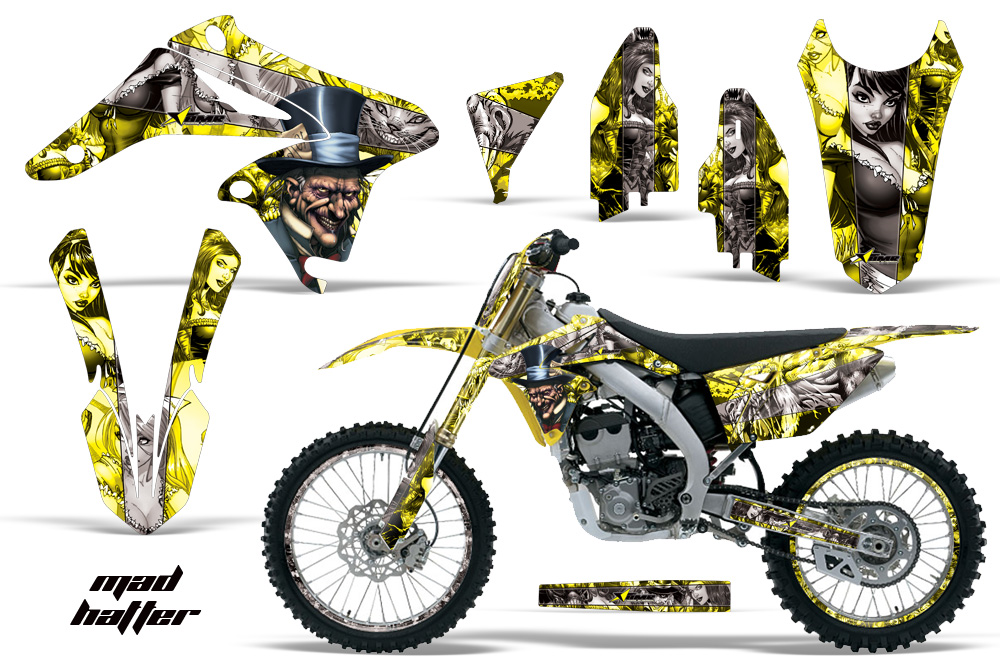
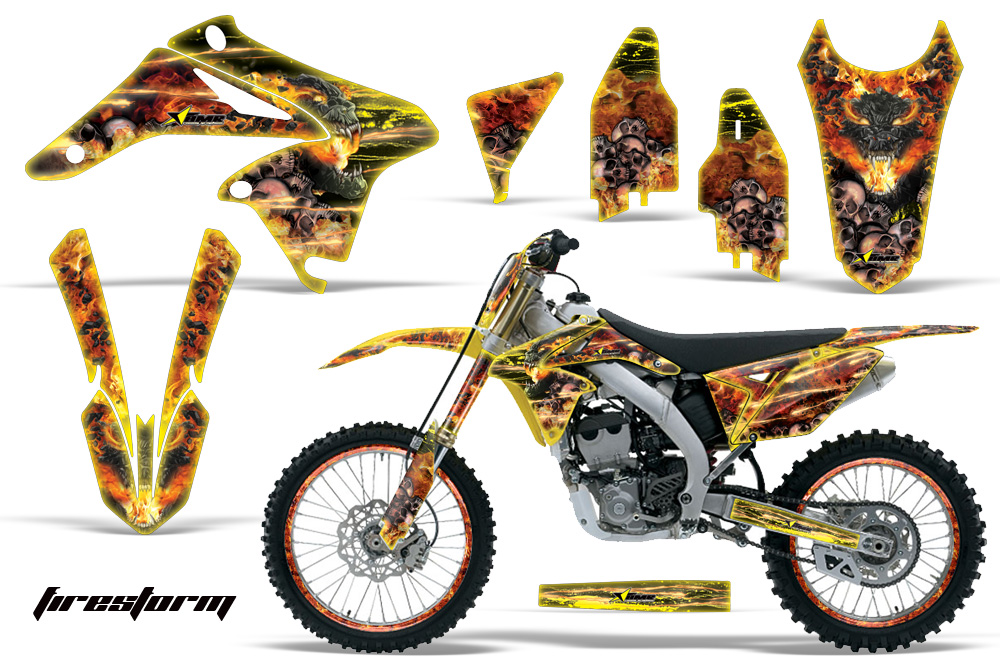
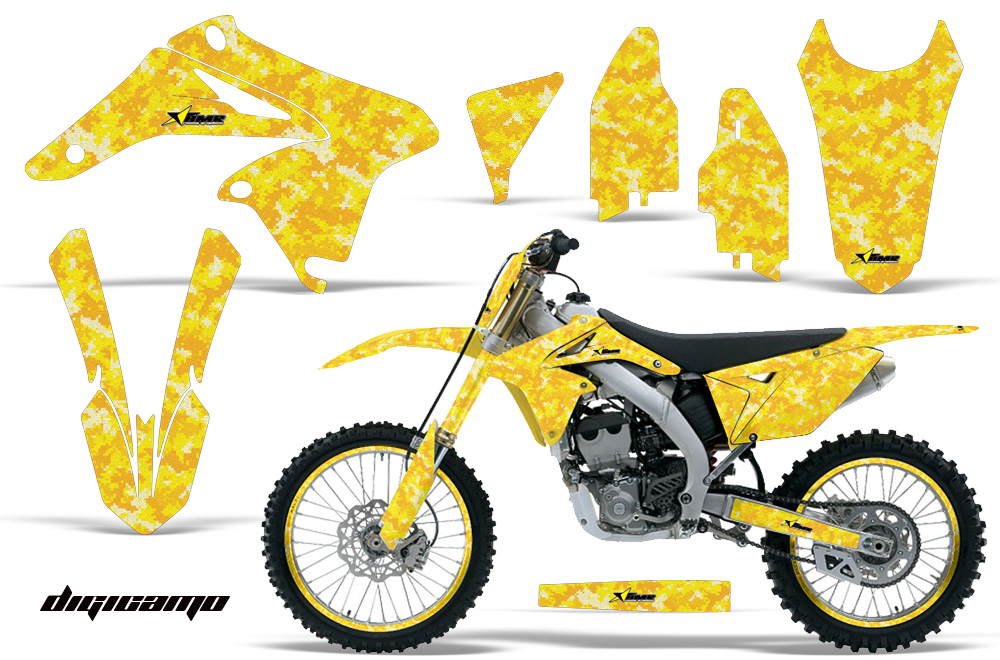
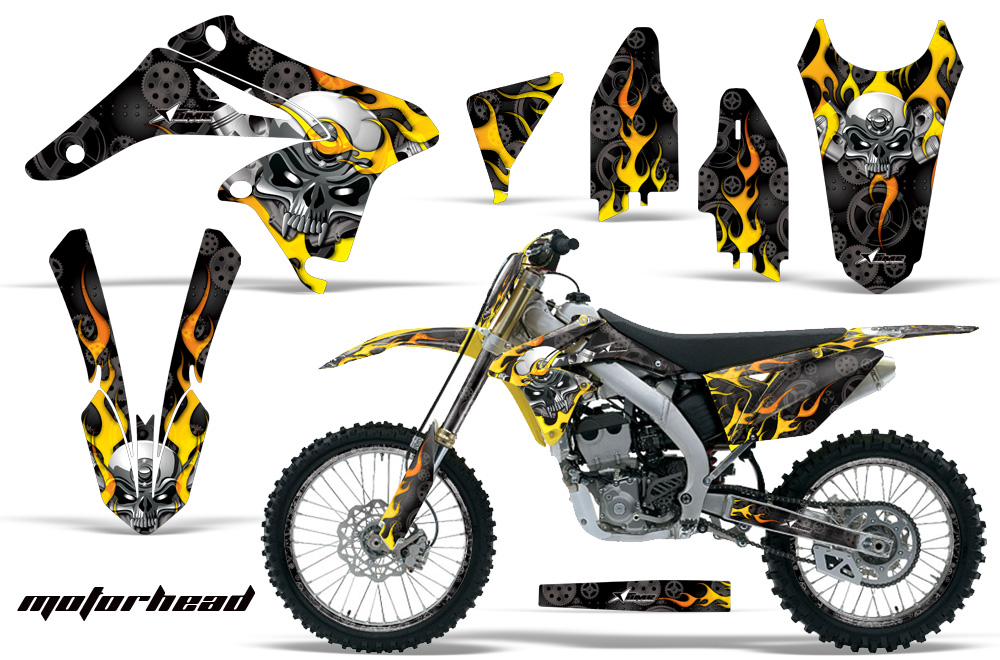
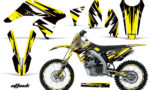
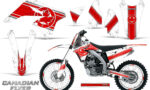
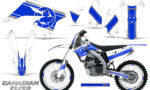
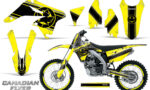
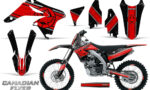
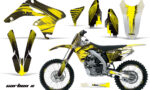
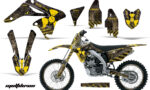
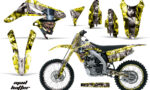
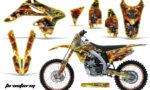
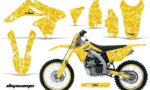
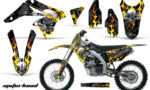
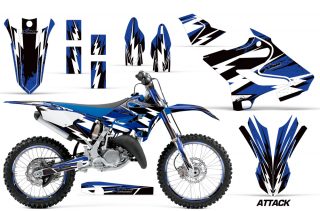
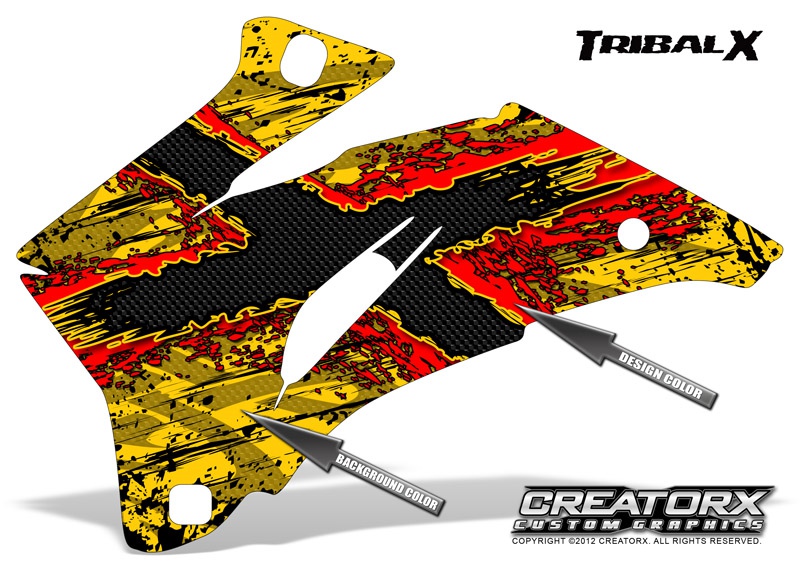
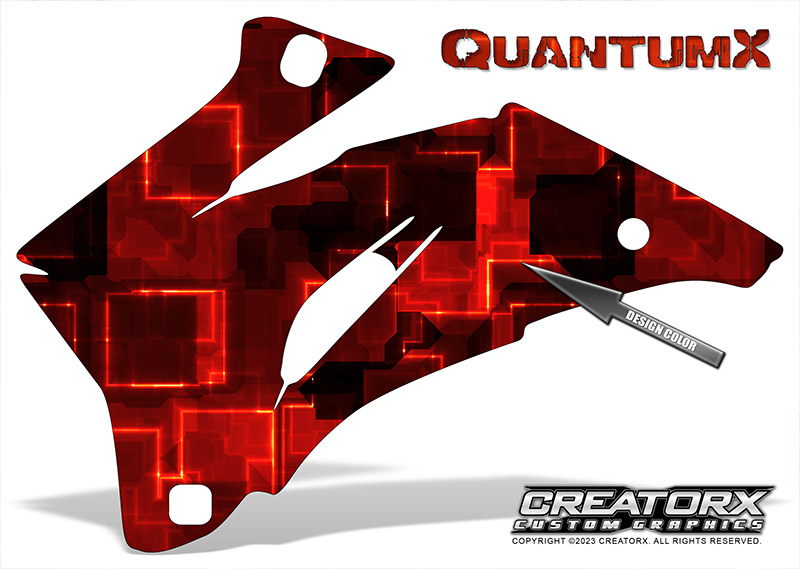
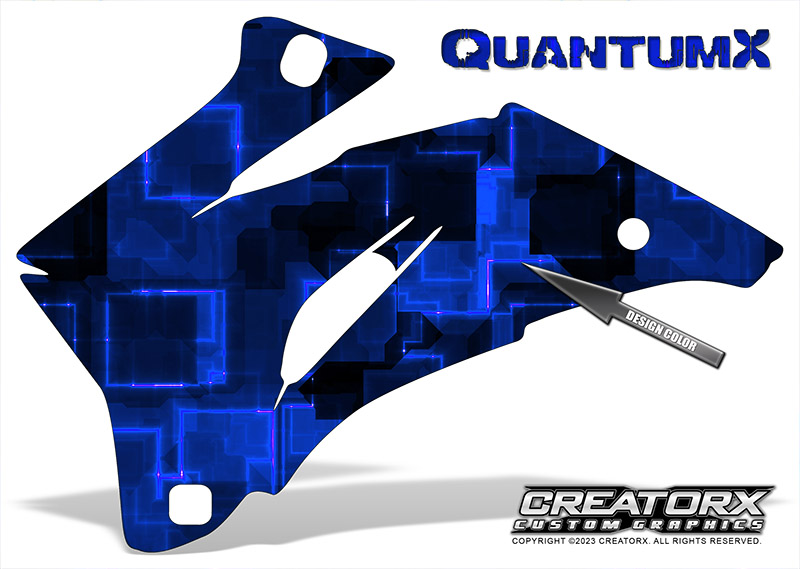
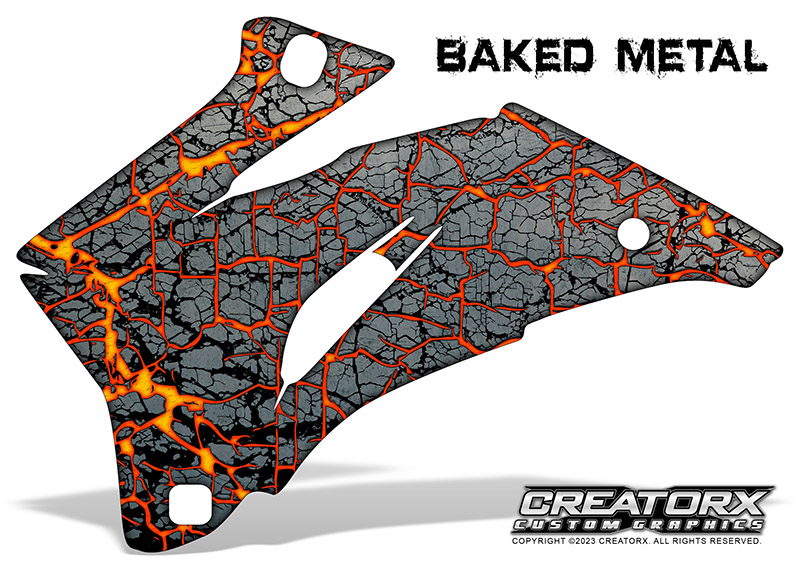
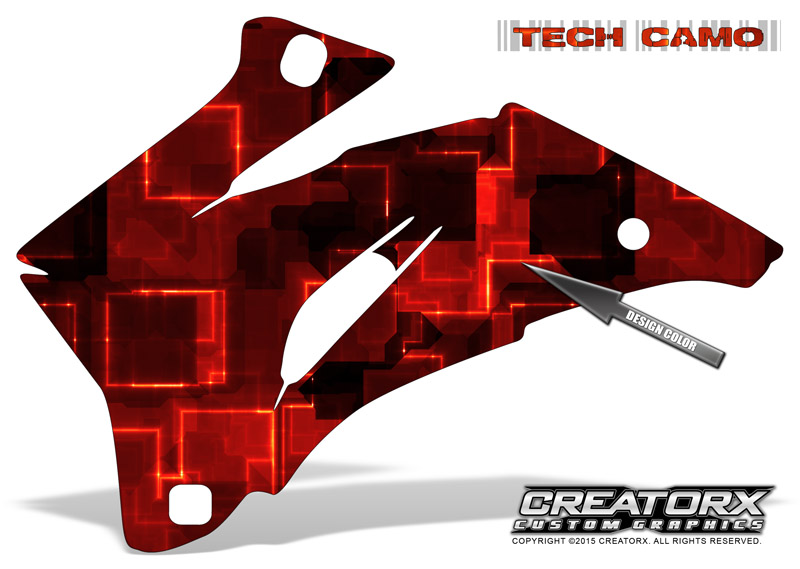
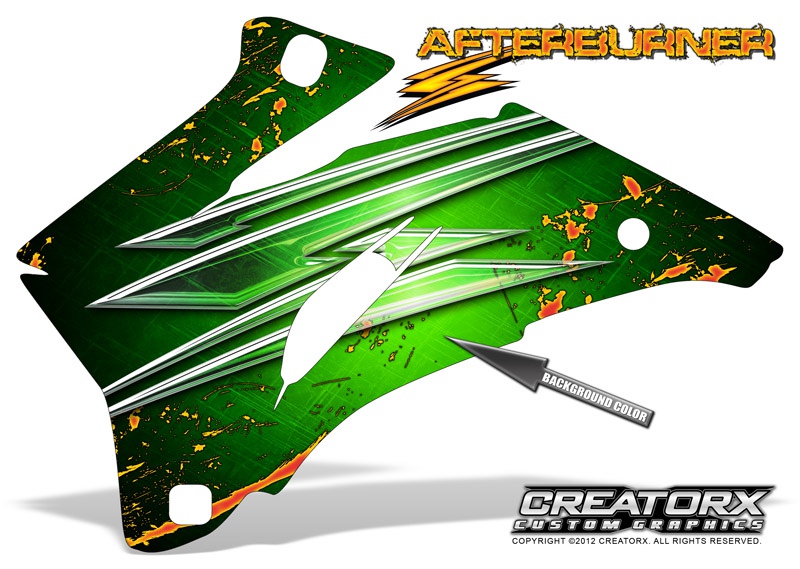
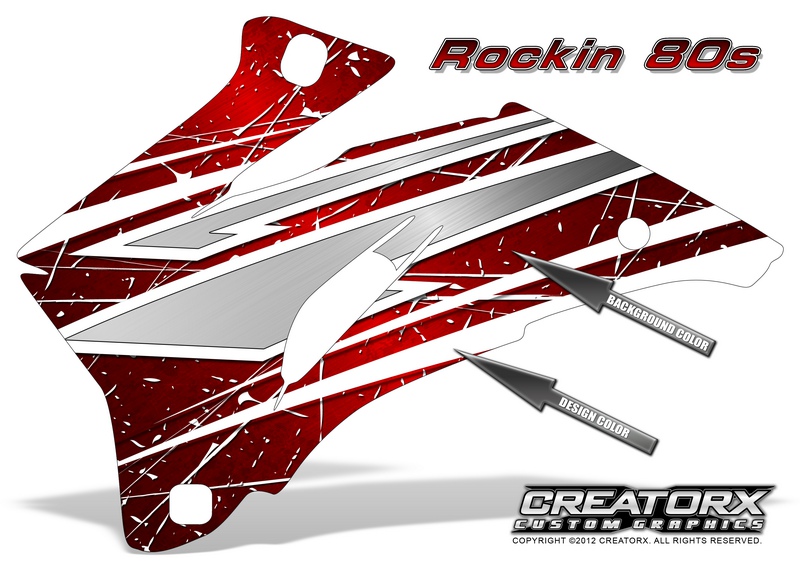
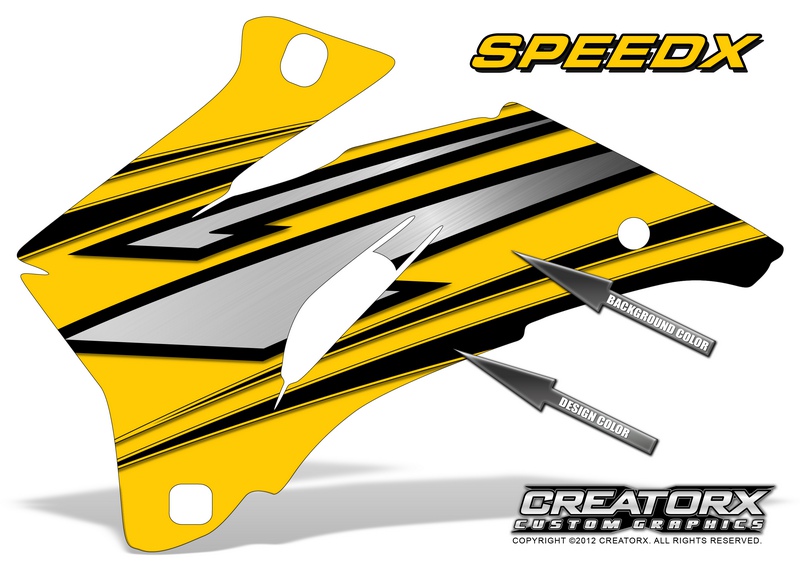
Suzuki RMZ 250 2010-2016 Graphics Kit
All kits are custom printed to order and take 5 to 7 business days to produce.
- Triple layer laminated industrial grade adhesive.
- Thickest Graphics on the Planet! 22-25mil thick!
- UV Coated. No fade 5 year guarantee.
- Install instructions included.
- Made in U.S.A.
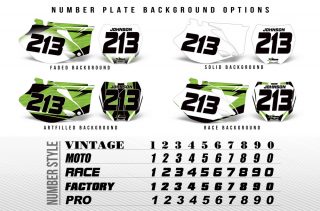
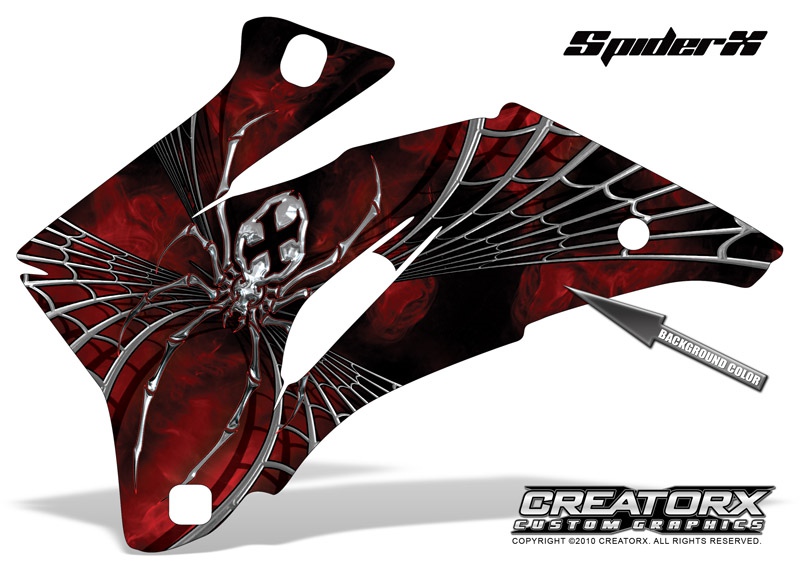
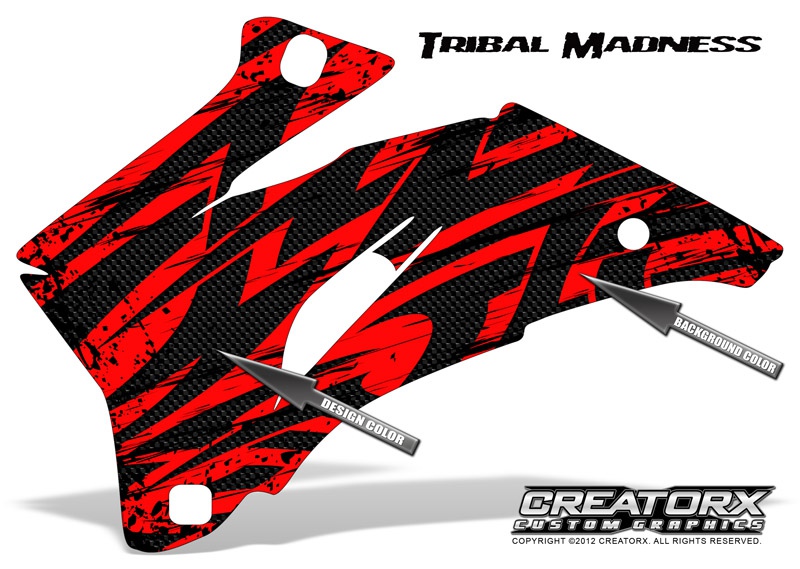
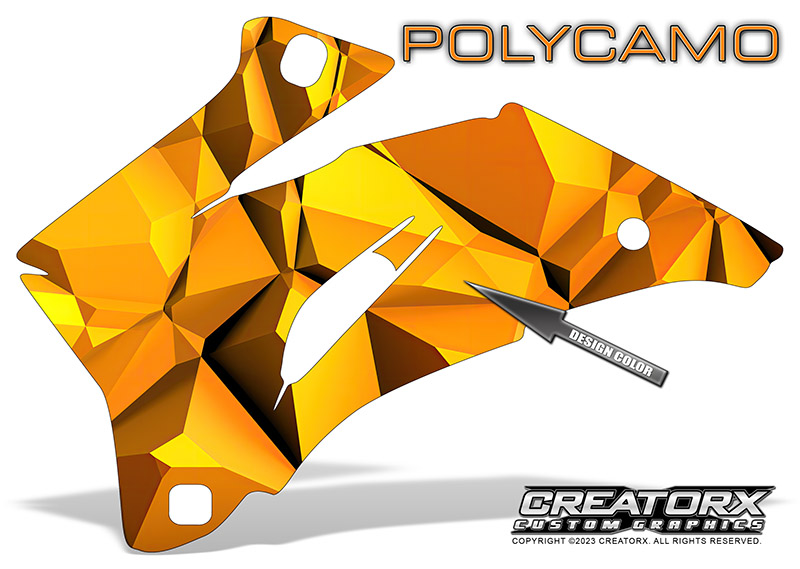
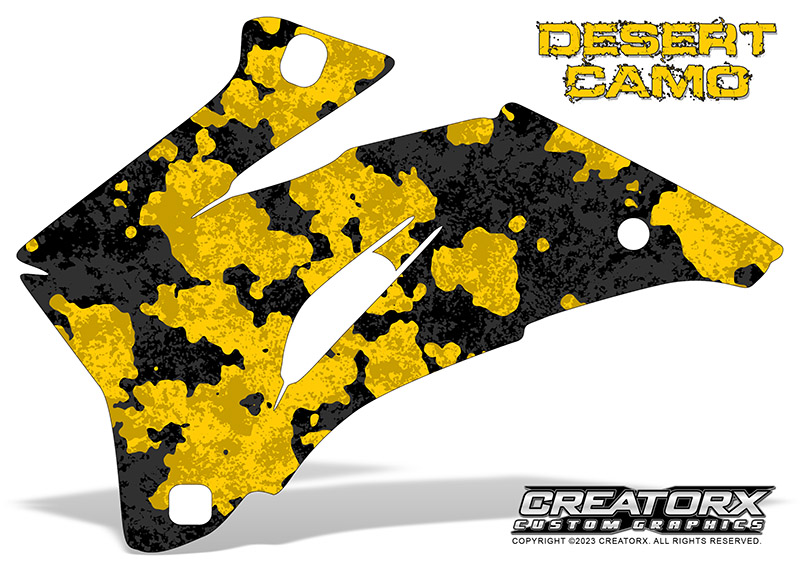
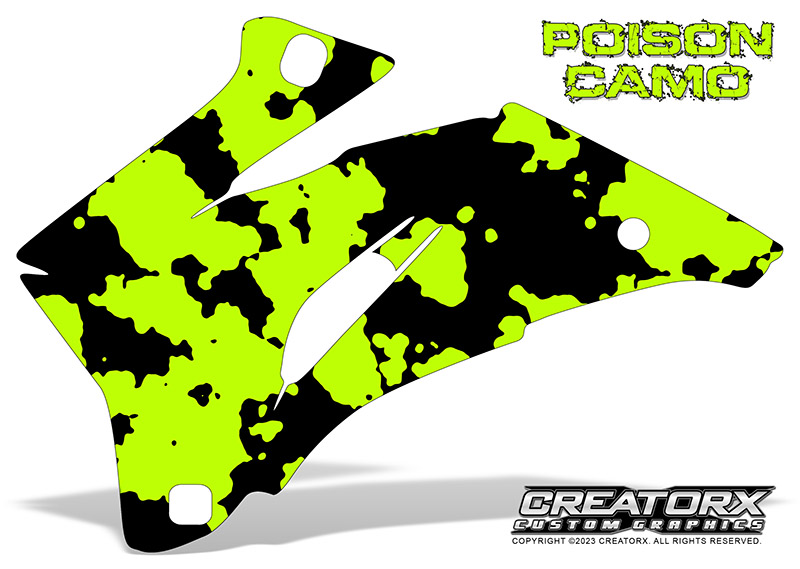
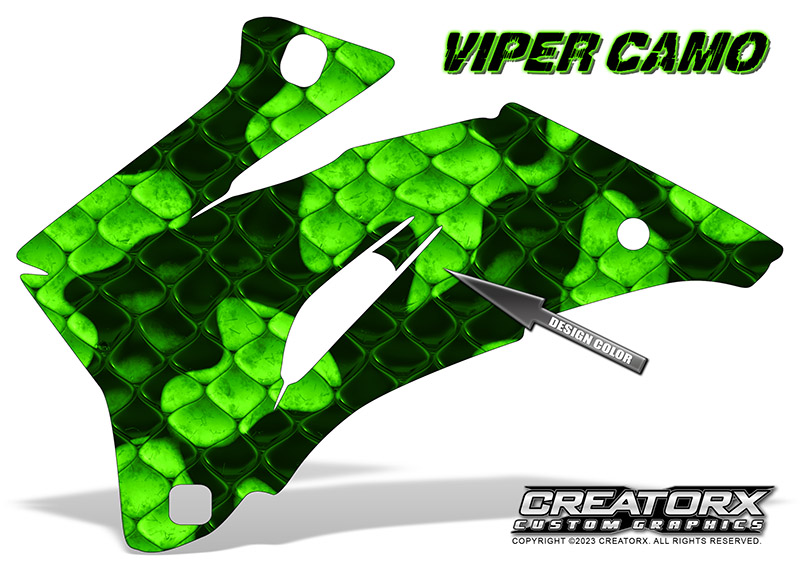
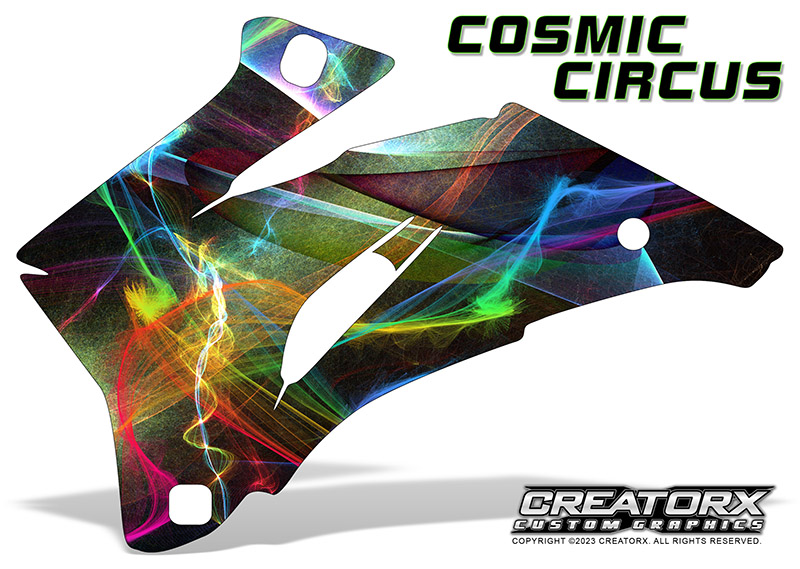
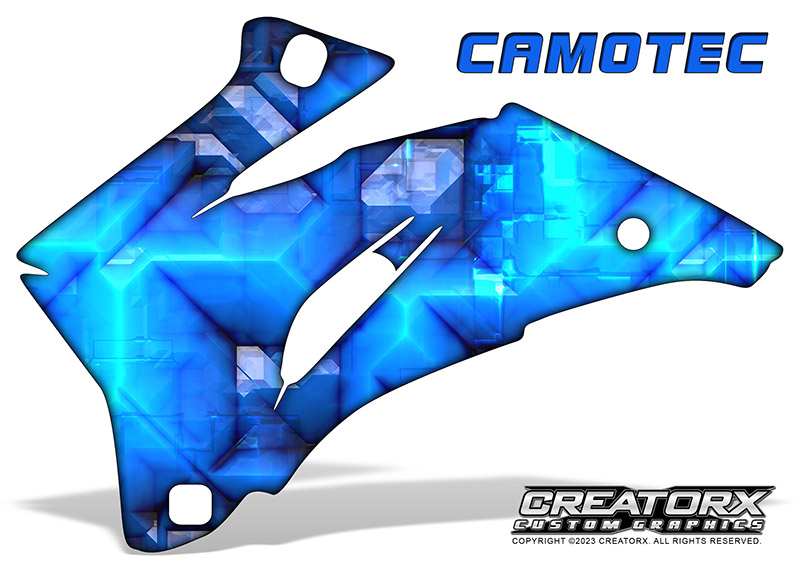
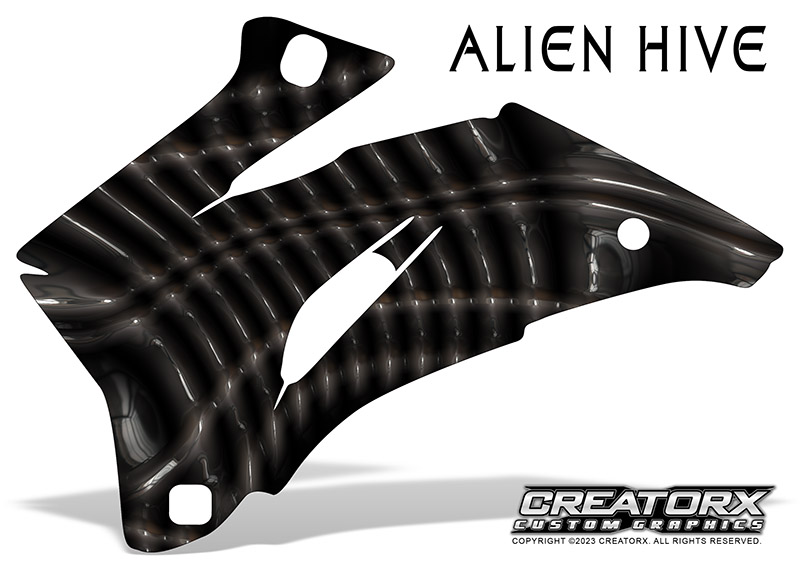
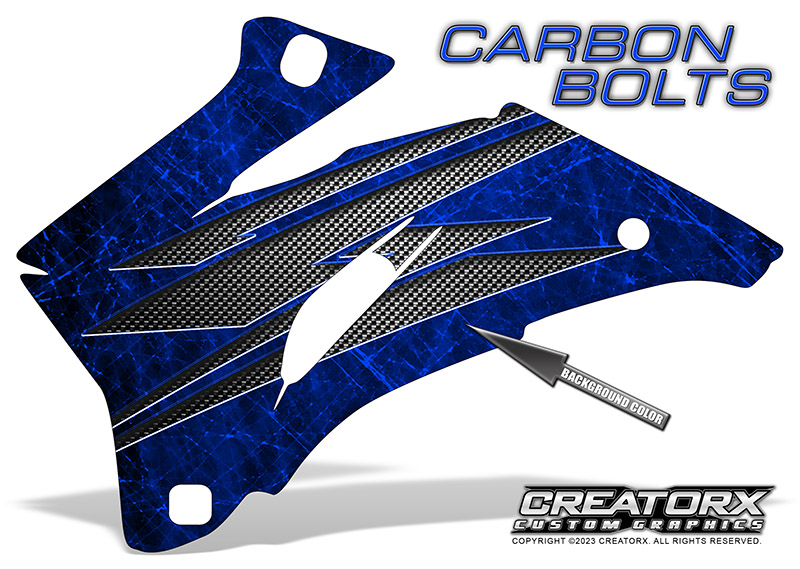
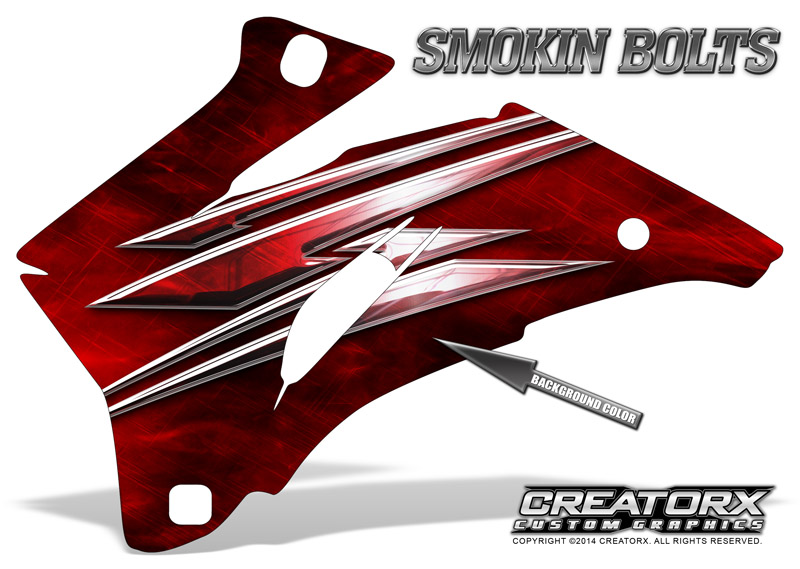
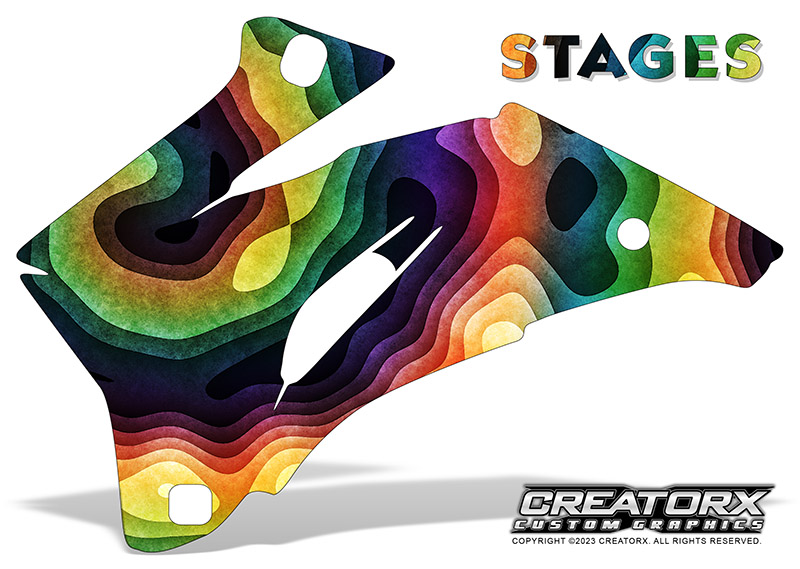
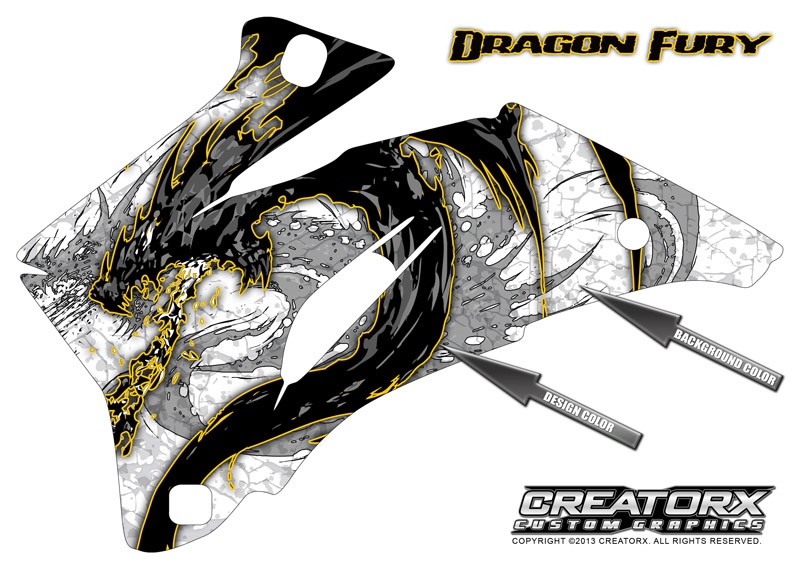
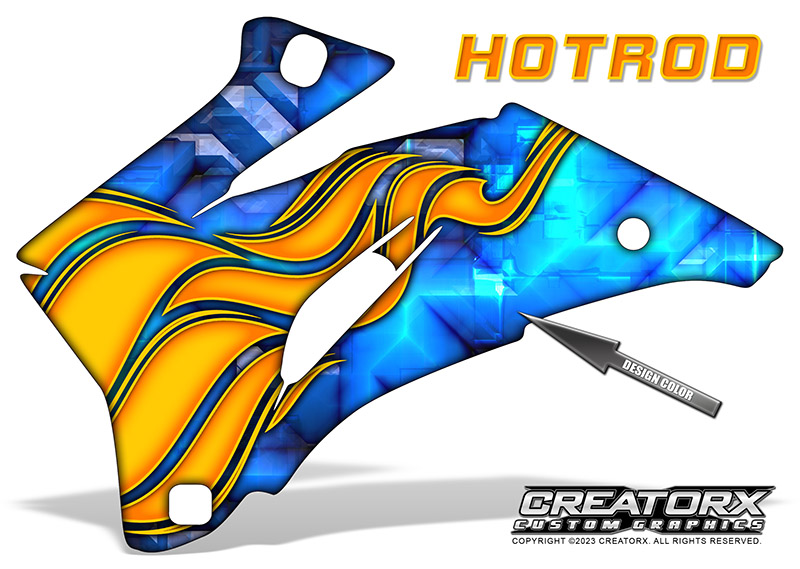
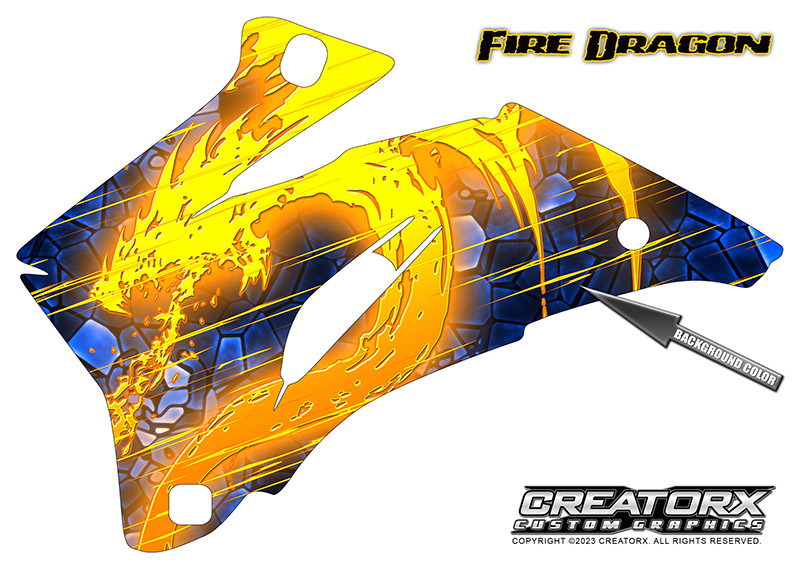
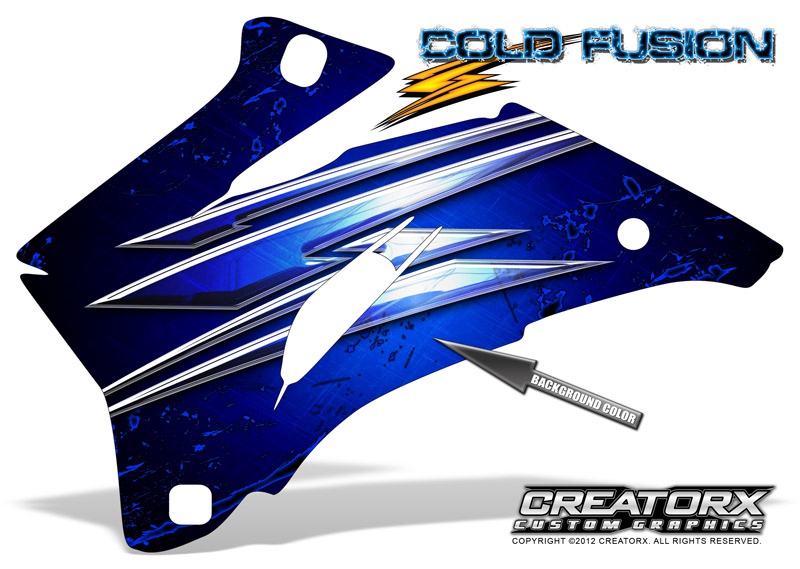
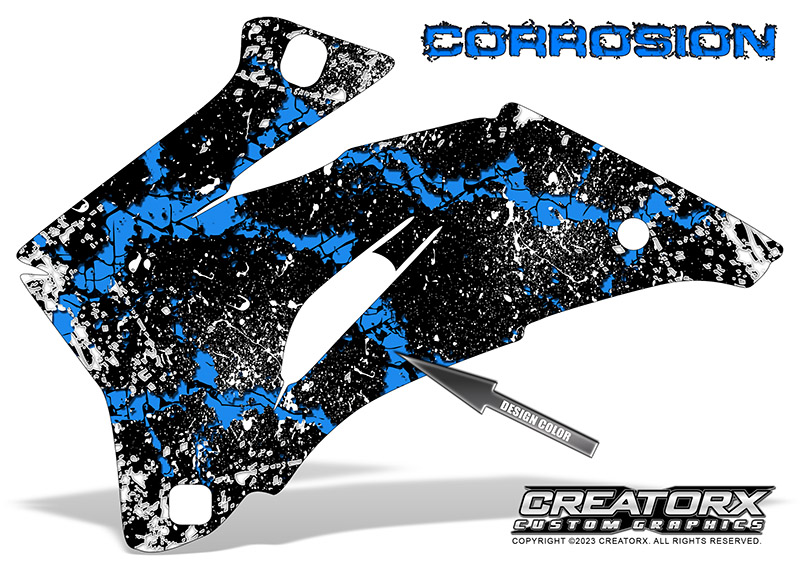
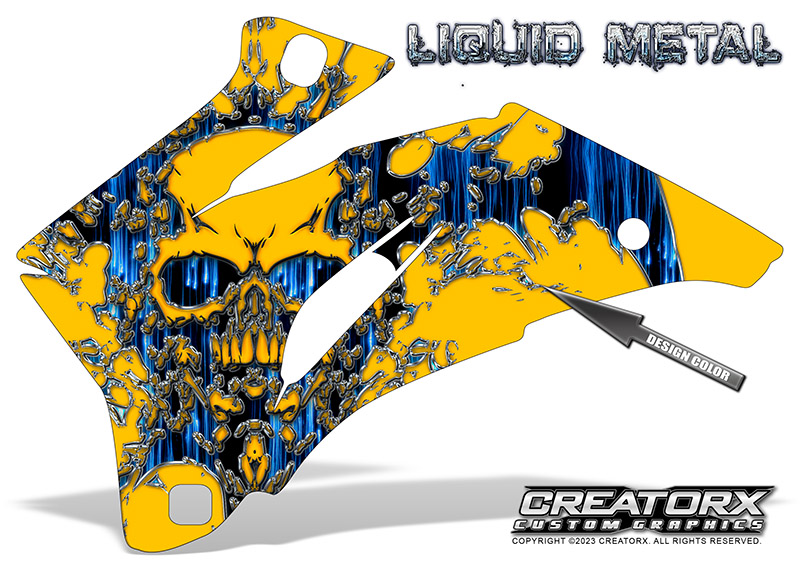
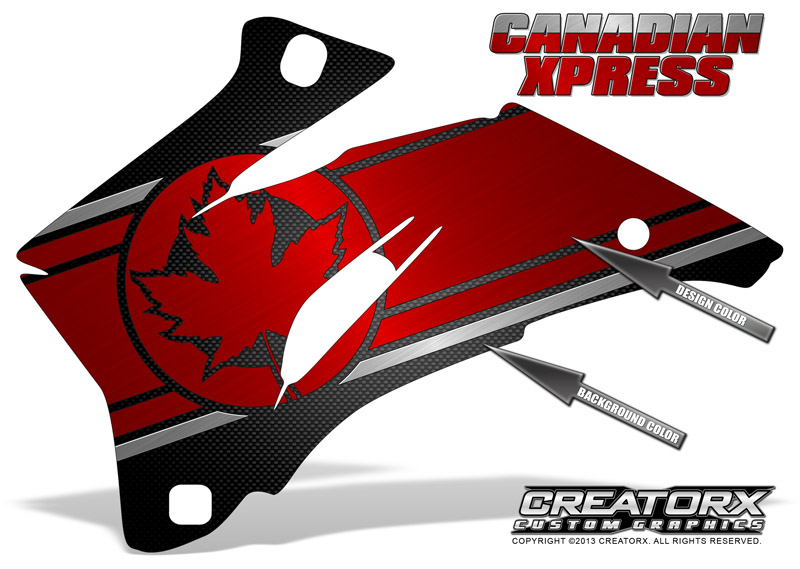
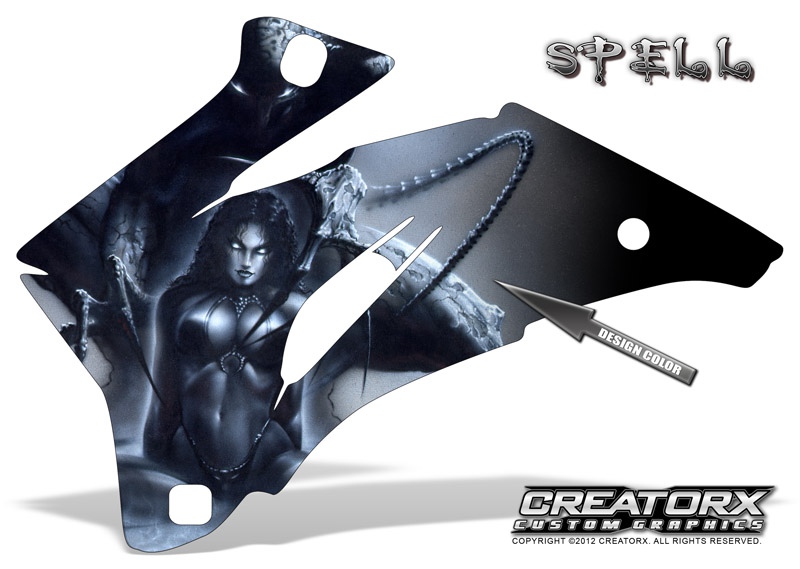
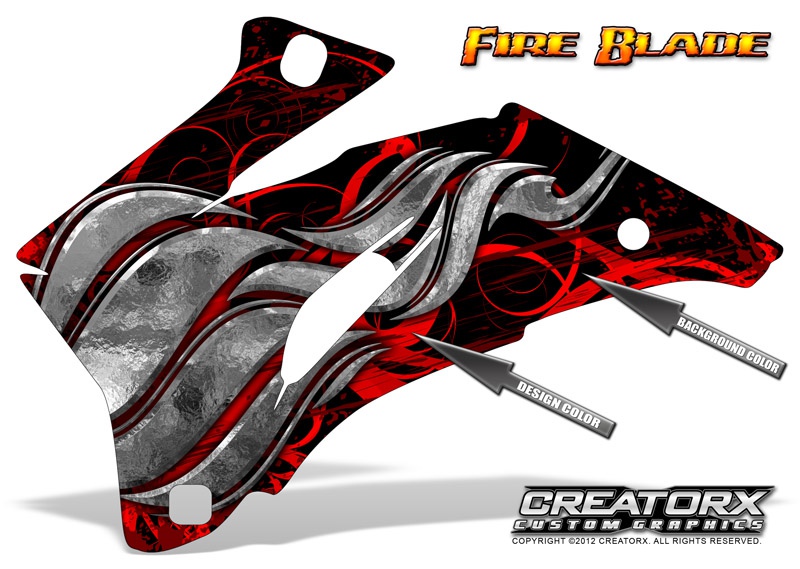
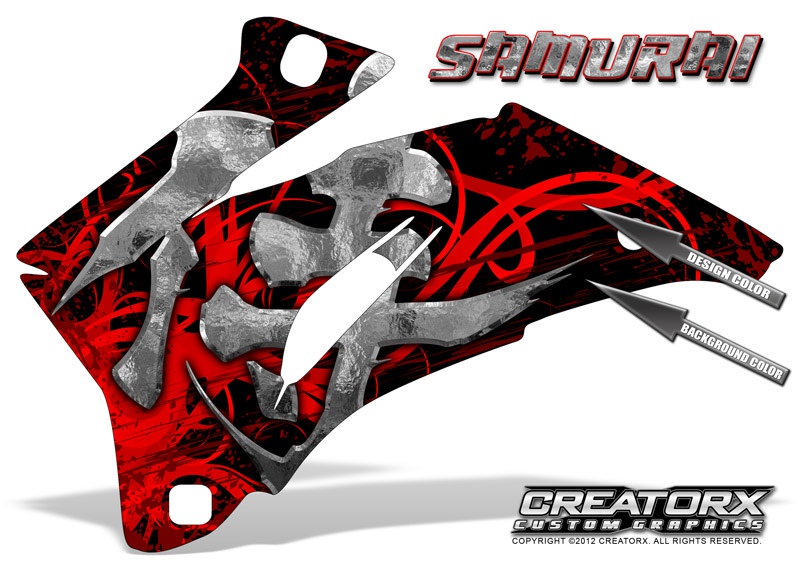
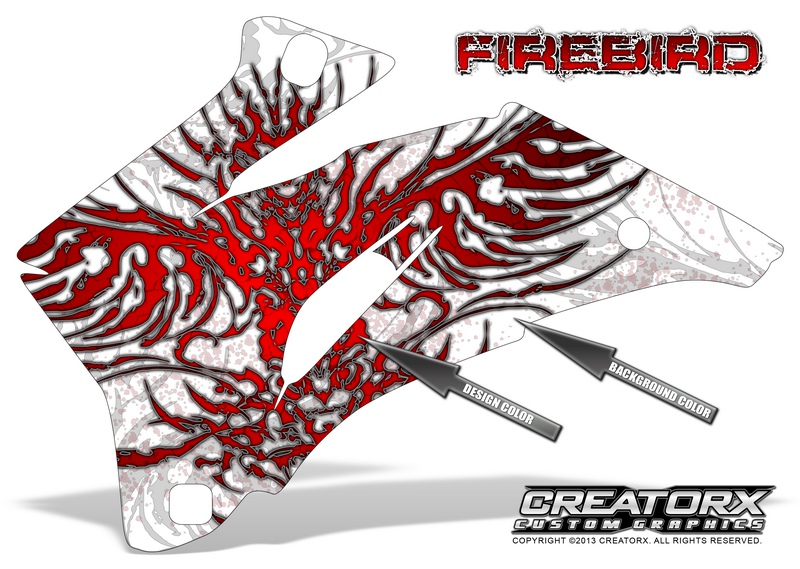
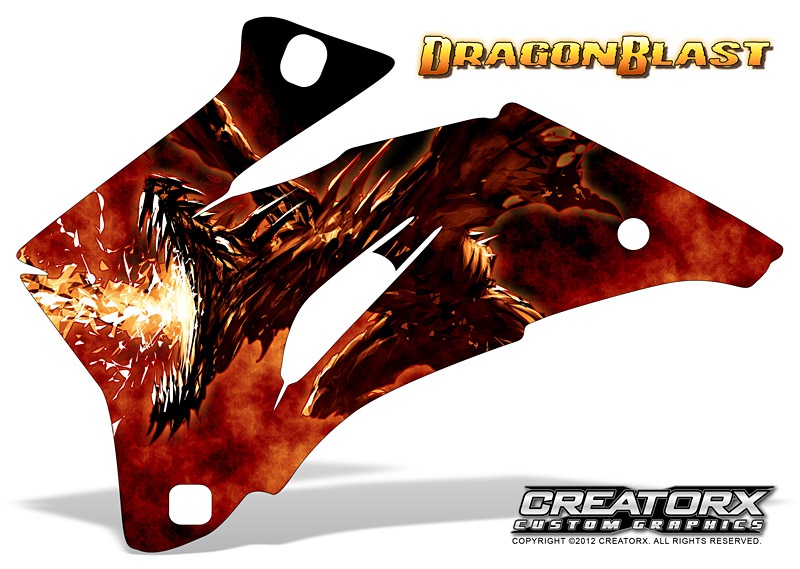
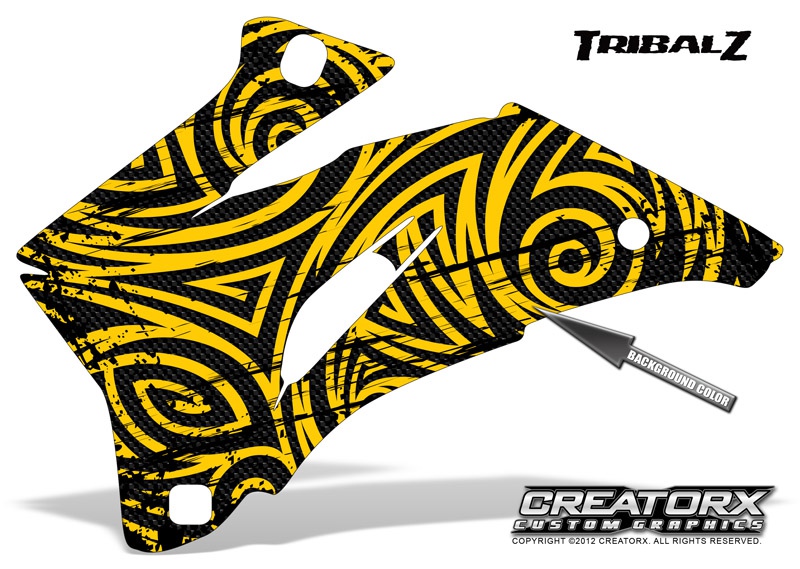
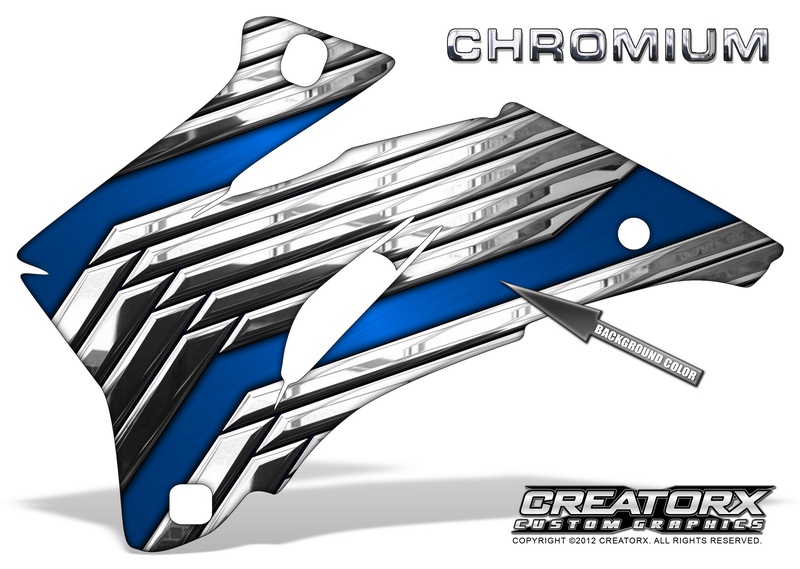
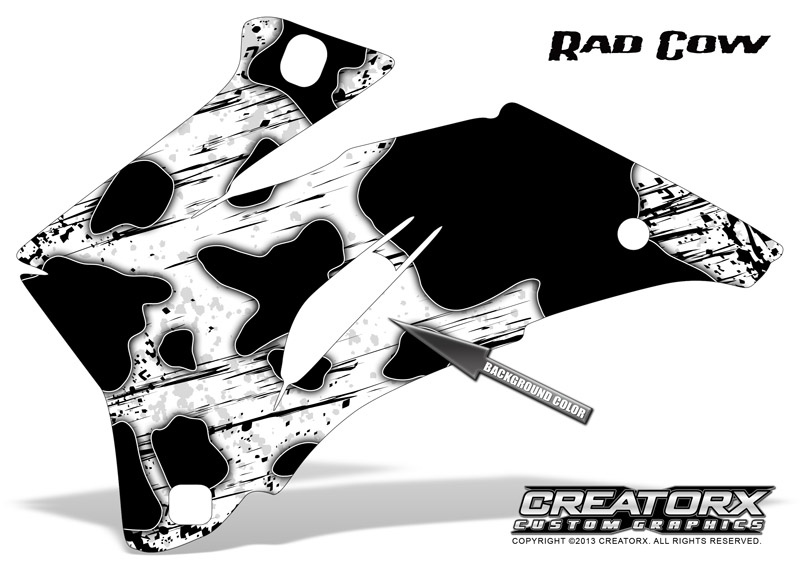
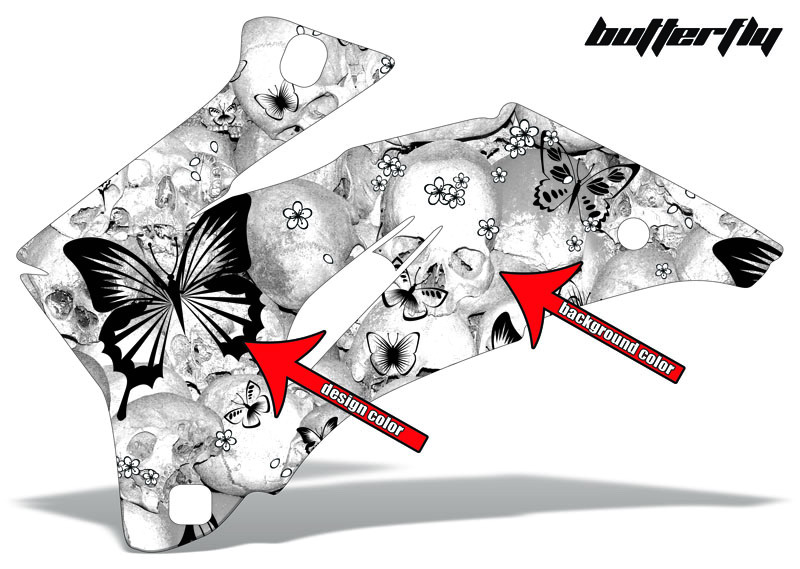
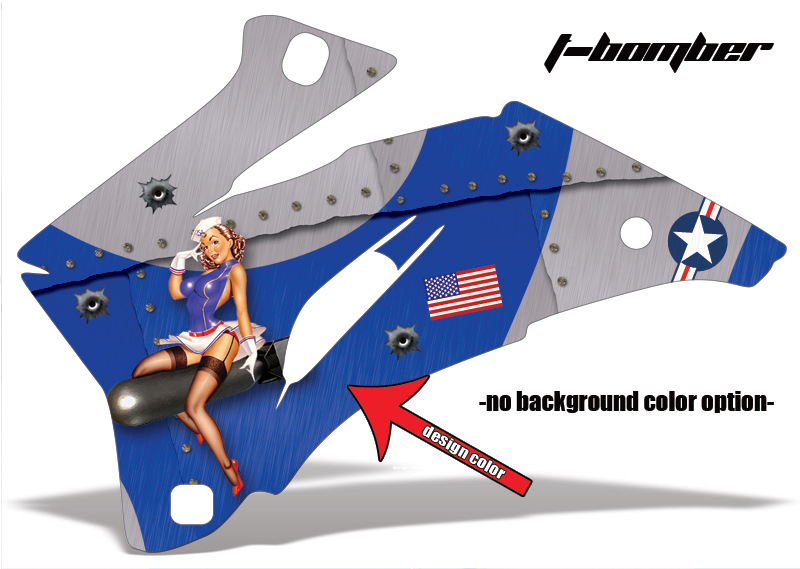
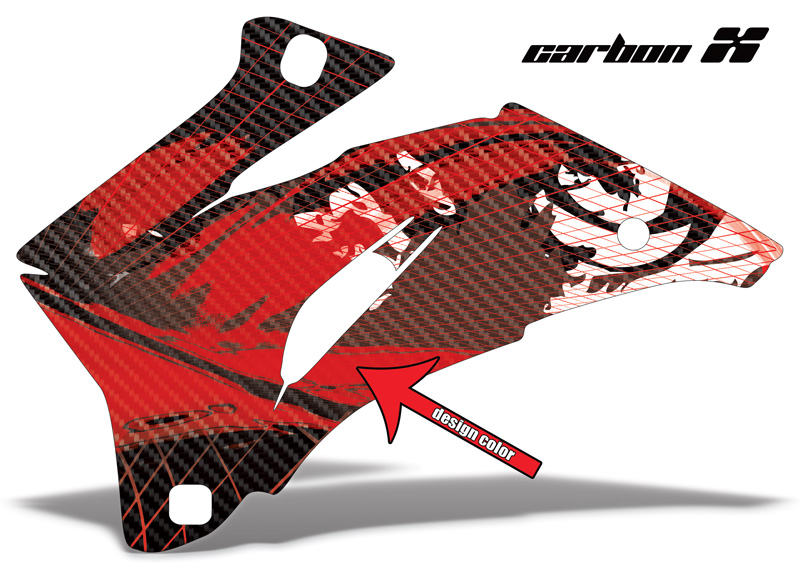
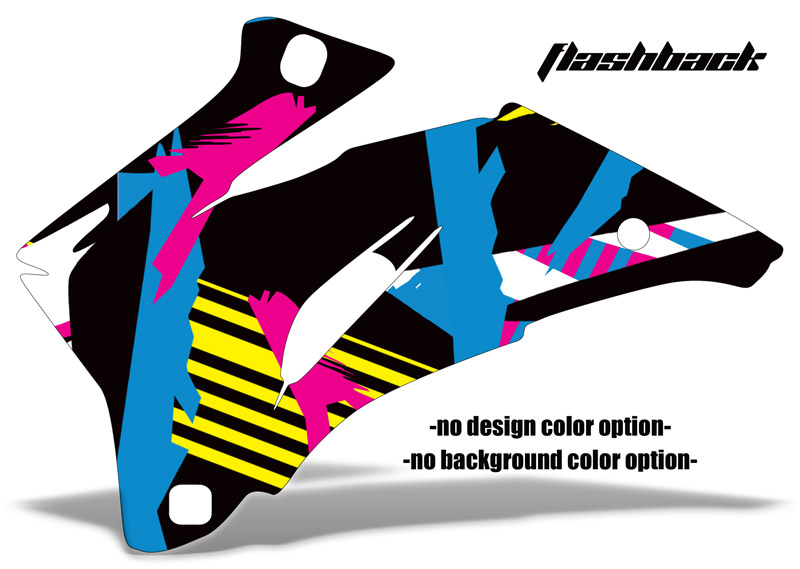
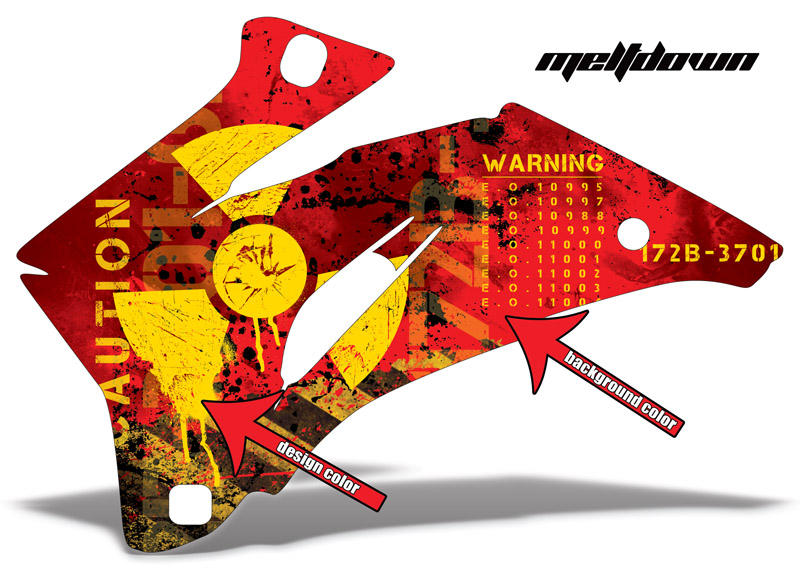
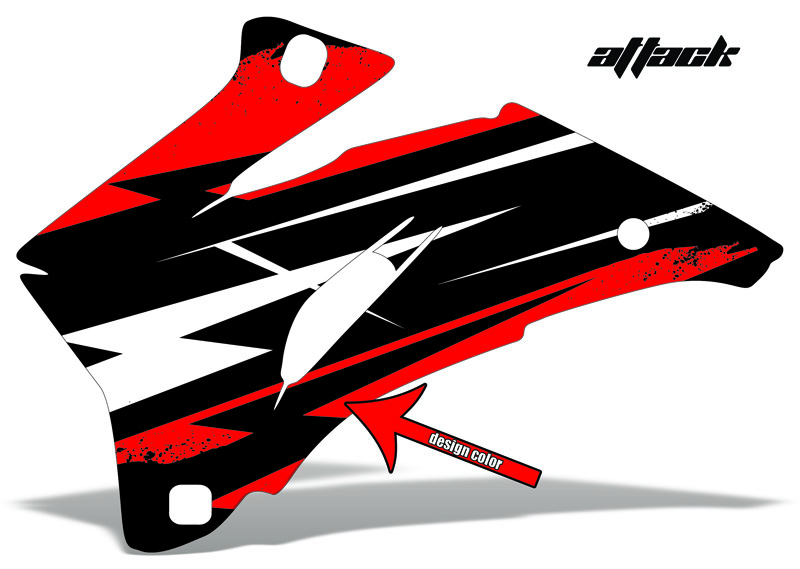
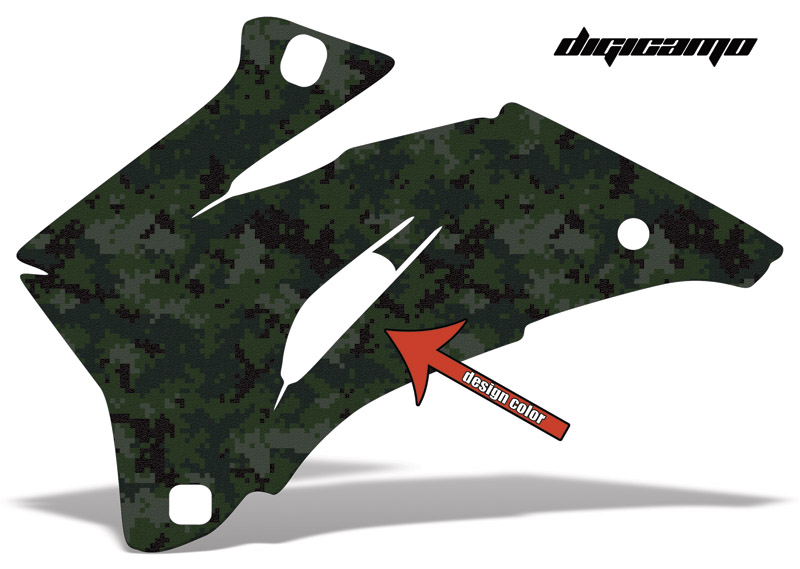
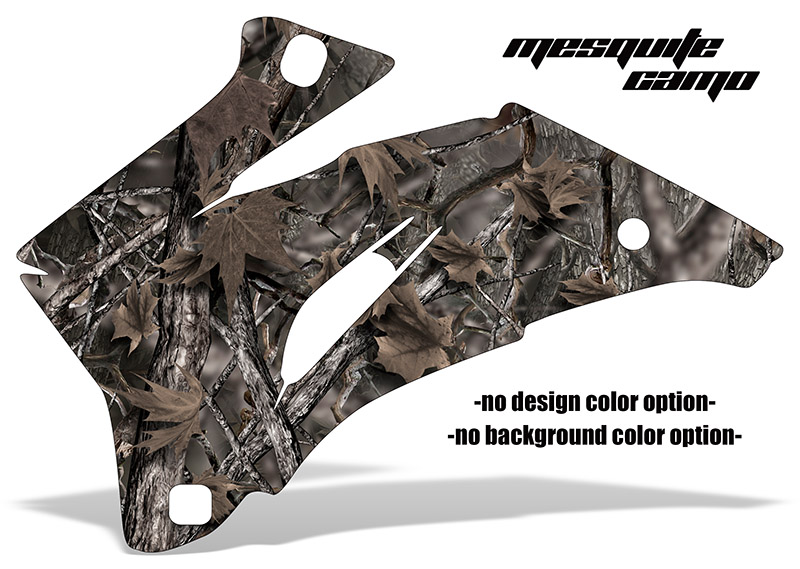
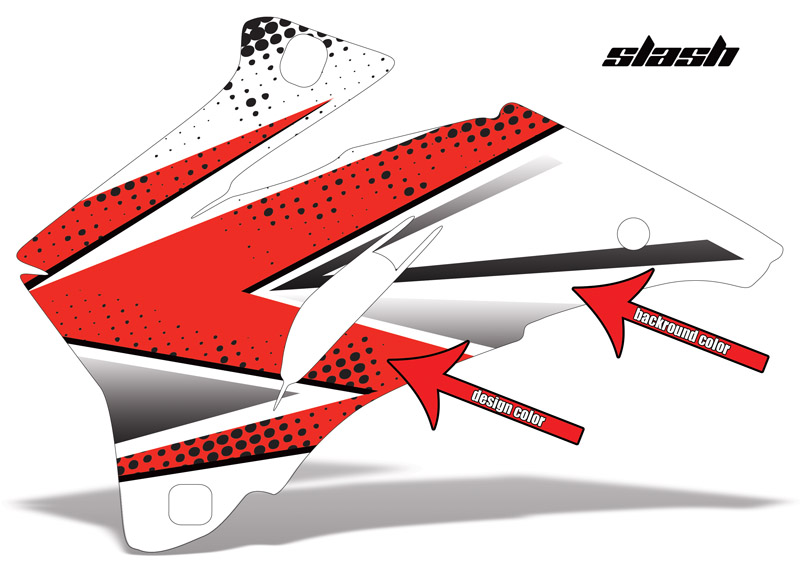
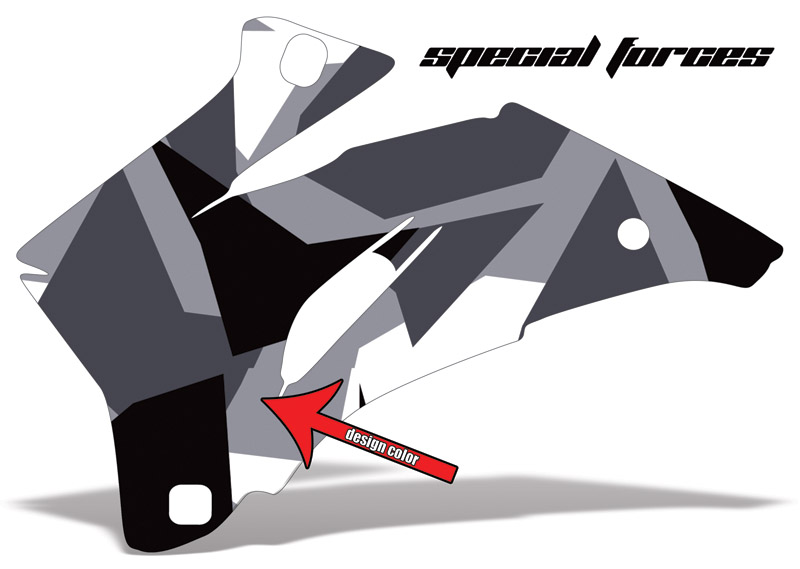
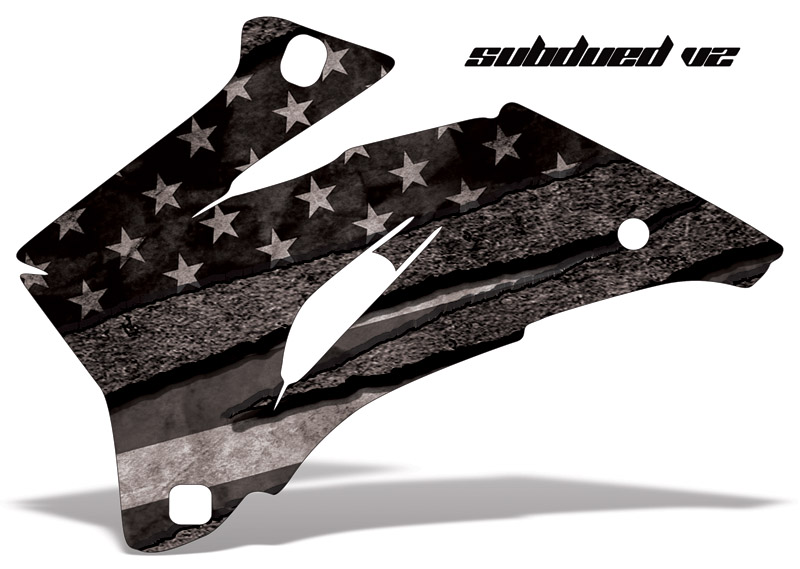
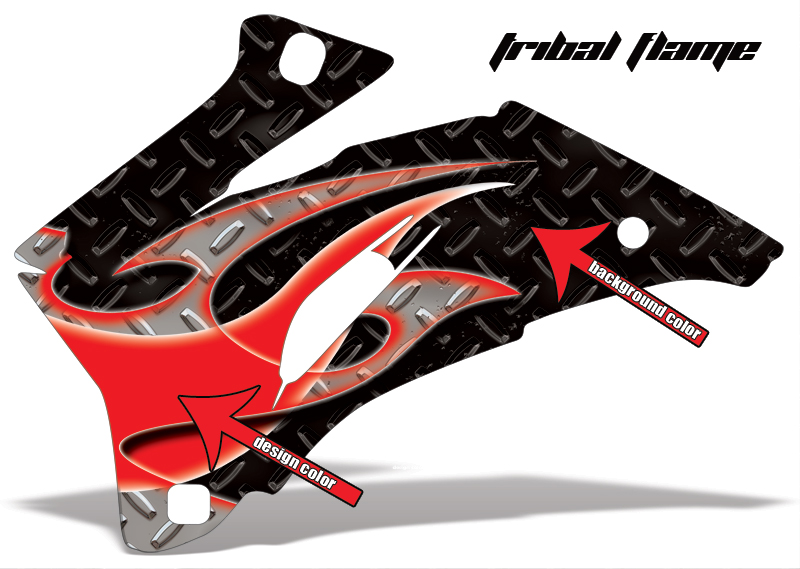
SEE ALL AVAILABLE DESIGNS BELOW:
INSTALLATION INSTRUCTIONS
OLD DECAL REMOVAL:
Use a blow dryer or heat gun to heat older decals and help peel them off. For any remaining glue you can still heat up a bit and rub off or use goo gone, rubbing alcohol or any similar residue/glue remover.
GRAPHICS KIT INSTALLATION INSTRUCTIONS:
Tools Needed: Squirt bottle with water, squeegee (old credit card works well), soft cloth and scissors, heat gun or blow dryer.
Install in room temperature. Do not rush the install.
- Thoroughly clean all surfaces with soap and water and remove all old adhesive, dirt, lint, oils etc. Rinse well with plain water and dry with lint-free cloth. Use rubbing alcohol or Goo Gone for any residue of old adhesive. Heating up old adhesive also helps in removal. If you use Goo Gone make sure you clean your plastics again with soap and water.
- Before removing decal backing, hold decals up to to your vehicle to get a general idea of how the graphics should look and where all the pieces go.
- Wrap a soft, lint free cloth around your squeegee.
- Spray the plastic you are going to work on first with water. Coat the entire outside surface.
- Slowly peel the backing from the decal piece, and as you peel, spray light mist of water to the adhesive side of the decal.
- Lightly set the decal onto the plastic making sure everything lines up properly. Start at one end of the decal and squeegee the water out of the other end.
- Use heat just enough to soften the vinyl for intricate curves. When using a heat gun or blow dryer be careful not to burn the kit.
- Repeat the above with all other pieces.
- Use the heat gun or blow dryer and lightly heat the whole install to help the vinyl set in form.


Reviews
There are no reviews yet.